Friday, March 22, 2013

Shredded Paper Party


I've seen a lot of pins on shredded paper play for toddlers. This is one of those activities that is so awesome, you say you're doing it for your child, but really... you're doing it for you. Most of the ideas for shredded paper are great because they are made with recycled paper that you've machine shredded from home like here, at the Tinkerlab. Organization AND reusable materials for play; What could be better?

Unfortunately, I don't own a shredder. I thought about showing up at the local UPS store with a trash bag, begging for abandoned shreds- but that felt wrong. I dunno, something about people's private papers and the UPS clerk picturing me sitting at home piecing these documents together shred by shred...it just felt weird. Sooooo, I made my own shreds! They actually turned out to be super easy to make and worked well for Kz who would have eaten those tiny machine-made shreds in seconds. These inch-thick, lanky shreds weren't nearly as appetizing.

I had some leftover packing paper from our recent move and decided it would be perfect. It's thin and flowy and not the type of paper that would give you paper cuts (Ahh, even the thought of it makes me shiver). I took a fairly large stack and cut down the shorter edge. Cutting through a large quantity of sheets proved to be pretty easy and in a matter of minutes, I had enough shreds. I threw them in a large basket and excitedly waited for Kz to wake from his nap. I briefly considered adding more materials to the basket but decided to start with bare bones shreds to allow Kz to get acquainted with the activity first.


It was a good thing I did because when I plopped him inside, he was totally freaked out. He humored me by examining the shreds, touching them, stretching them, and acting excited before looking for the quickest way out of this thing.


"Here ya go, Mommy. I'm soooo excited. Snap your photo and save me immediately." 


Maybe surrounding Kz by the shreds while being contained in a basket was a little aggressive on my part?? After rescuing Kz, I reevaluated my strategy and tried again. I tipped the basket, allowing the shreds to cascade onto the floor. This was much more inviting and Kz could approach it at his own pace.


I noticed he was staying on the periphery and not really diving into the material, so I tried another provocation. A bird's nest!


This little red bird chirps, and Kz was happy to trudge through the shreds to get to it. He was probably like, "Ugh, she just did the same thing to me.  Don't worry, Red Bird. I'll save you!"

I resolved to leave the shreds out for him to explore on his own time. But not before doing this...


And this...


 Come on, I had to! He forgave me, see?


I left the basket o' shreds out for a few days, using some different materials to spice it up. One day, I threw in some sensory balls. The next day was rubber duckie day. The last day, I added a bunch of familiar, small toys which ended up turning into a great game of treasure hunting! The  toys would sink into the shreds, peeking through just enough for Kz to spot.  My hubby had the great idea of burying his ipod in the shreds while playing Kz's favorite Elmo song. He suspiciously searched the basket for Elmo, uncovering many other treasures along the way. Genius!


Stay in the loop! Follow us by liking our page on Facebook.

Monday, March 18, 2013

First Outdoor Play


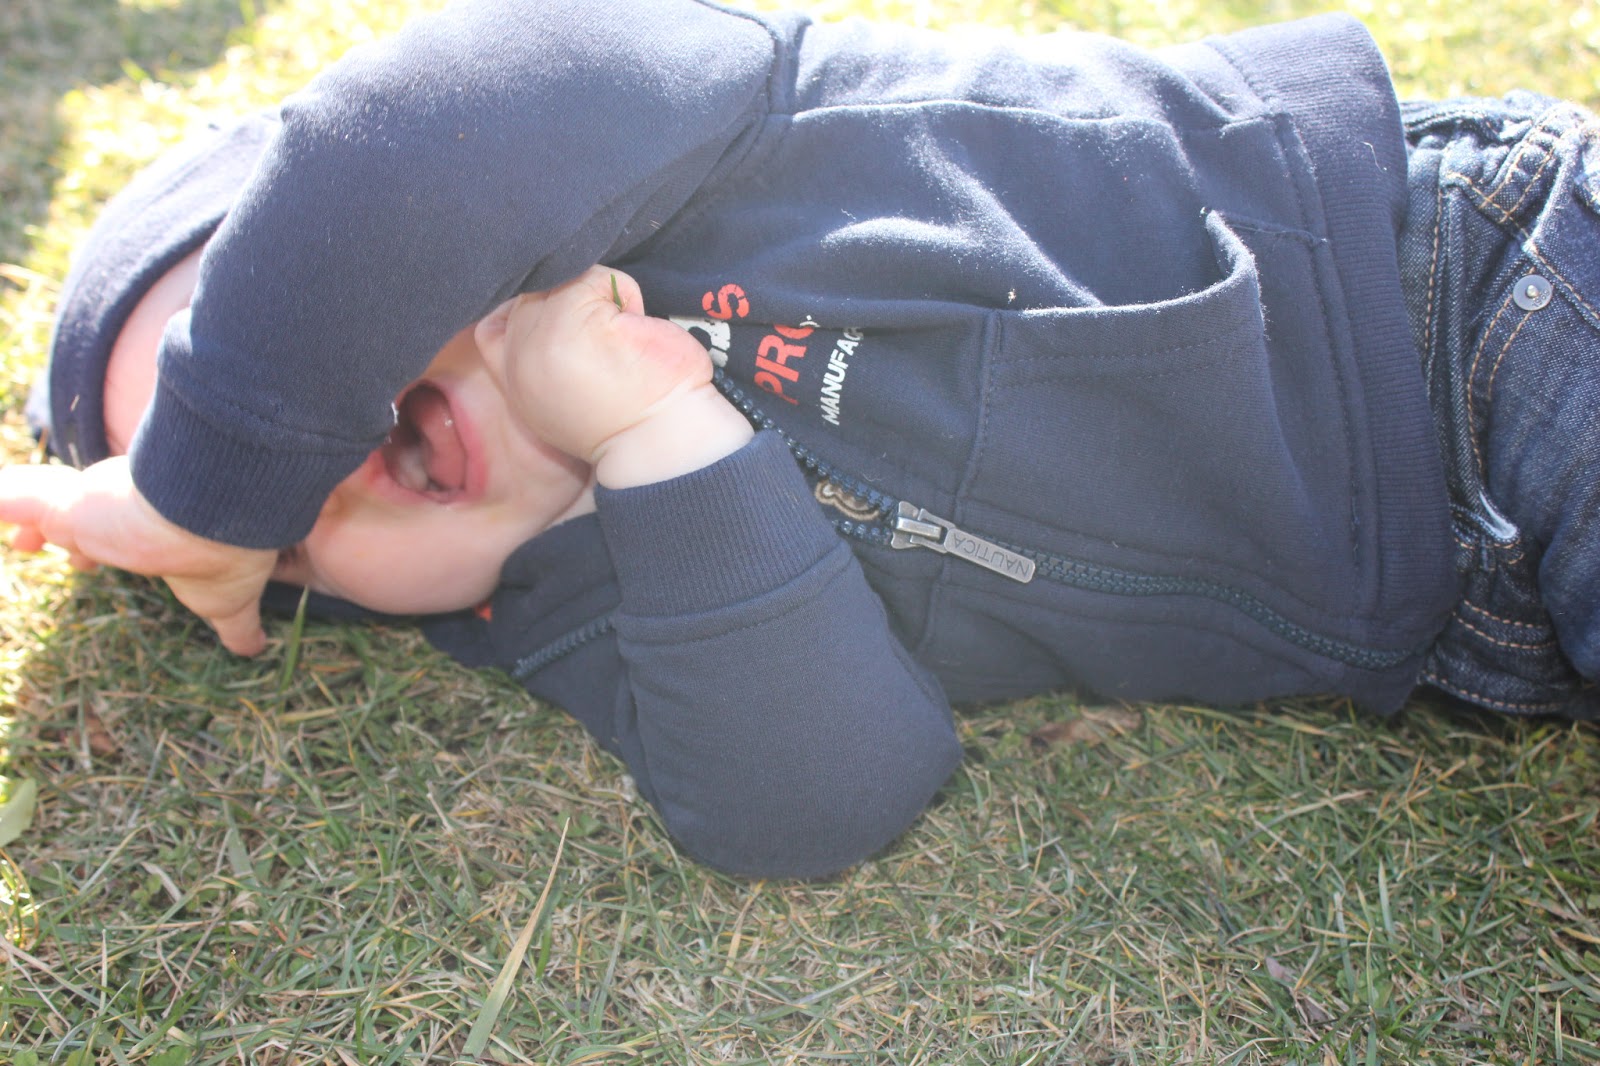
While we are due for one last snowfall tonight, the late day sunlight and blossoming bulbs are proof that Spring is just around the corner. I am a big fan of outdoor/nature play for children so I've been dying to get outside with Kz, especially since he's never crawled on the grass before!

So, when we scored a freak 50 degree day last week, we snagged our chance...


It was so much fun to be able to just plop Kz down and let him roam free. While we've tried to make a pretty expansive play area in our home, there are the inevitable no climb-zones and occasional gates that block off any unsafe areas. I pictured him seeing the front yard as miles and miles of open land just waiting to be explored. Until, of course, he headed straight for the muddy flower beds. Then I was like that annoying GPS lady, recalculating his route at every wrong turn.


Kz LOVED all the crunchy leaves on the ground. He stopped and touched every one he could find. If one was particularly lovely, he would sit up and examine it more closely. Then, inevitably, he would try to taste it. Uh oh. Here comes that annoying lady again...


When Kz was doing something he knew he shouldn't (like eat leaves), he would take off crawling as fast as he could away from me. Like so...


Then, when he thought I wasn't looking, he'd do this...


Yup, that's a leaf.

I distracted him by collecting some special items like a clover, a twig and a rock...


And he found some special things on his own...


Kz also got some quality male bonding time with Daddy. They played ball...


Looked at things from a different perspective...


And rolled around as boys do...


Finally, I stole some precious moments of my own...

 
I can't wait to do some more exploring outdoors with Kz. For younger babies, bring a blanket outside and lie them on their backs. They will love looking up at the moving clouds in the sky and the rustling leaves on the trees. Bringing bubbles outdoors is a guaranteed good time for babies and toddlers alike. Kz was more interested in feeling (and tasting) his way through as much area as he could cover. On the next beautiful day, we will collect some natural materials in a bin to keep. That way we can explore nature indoors even on the gloomiest days!


Sunday, March 17, 2013

Documenting Your Child's First Years


My mother kept a baby book from when I was a child. I've looked at it over the years and felt so grateful to have a few photographs, a lock of hair from my first haircut and some handwritten dates of important milestones. These days, documenting our lives has become a lot easier. We can whip out our cameras at a moments notice. And, sharing all the special memories we've recorded is as easy as the push of a button. In the first week Kz was born, I think I had already accumulated about 1000 photos. Which sounds great (or crazy...whatever), right? But who's going to want to look back in 10, 20, 30 years and sift through thousands of disorganized digital photos?

One of the ways that I have documented Kz's first year is by creating these simple, monthly "newsletters." I know the word newsletter sounds a little involved but they are more like small summaries of the month's happenings. You can also create these without using text at all, but I find that while a picture is worth a thousand words, even a tiny caption provides context and adds endless sentiment to your newsletter. Here is an example of one of Kz's monthly newsletters...  

This  one has a little blurb as well as some captions at the top. It's simple, easy to make, and is great to share digitally. Each month, I draft a quick email to a list of contacts of family and close friends with the newsletter attached. It's great for my family who lives far away because it provides them with a little more than just a few cute photos. 

I use a Mac, so these documents are made in the program Pages. You can also create similar docs in Word or if you are fancy, in Photoshop. Pages has lots of templates and is the most user friendly for this type of photo documentation so I highly recommend using it. Here's how to do it: 

1. Create a folder on your desktop where you will drag the photos you want to use. Because they will be copies of the original photos, you can place them here temporarily and delete them when you've finished, or save them for further use and editing later. 

2. Here's the fun part! Go through your photos and choose your favorites. I suggest doing monthly newsletters so that the amount of photos you have to go through isn't too overwhelming but if you take a lot more or a lot less, you can do a trimonthly newsletter or a weekly edition. Remember the purpose of these docs is to highlight the special moments and milestones of the month, so be picky! I typically choose between 7 and 12 photos. Now, drag the photos to the folder on your desktop.

3. Open Pages and decide whether you'd like to use a template or create your document from scratch. Sometimes I like to put in my own photos as the background and using a blank page allows me to do this. Other times, I don't want to be bothered with formatting so I go with a template. Switch it up so your newsletters have a different feel each month! 

4. Open your new photo folder and begin dragging and placing your photos. Vary the size, put them in frames, play with the opacity and tilt them any way you like. Add text boxes to provide captions or to write a larger blurb about your photos. 

5. Don't forget to add the date and your child's age! 

6. I typically save these as pdf's. It makes it accessible to everyone regardless of the type of computer they have ( .pages files can only be opened by mac users). To do this, hit PRINT and then SAVE AS PDF. I save them all to a specific folder so that when I decide to print them, I will not have to go searching. 

7. Your newsletter is ready to share! If your photos are taken with a good camera then chances are this newsletter is now a very large file. Reduce file size first to make emailing the document easier (and less annoying for your recipients to open). Do this simply by clicking FILE and then REDUCE FILE SIZE. 


In addition to saving the newsletters in a folder on my desktop, I plan to print these in two ways. After Kz's first year, I will send all of them to a printer or online photo shop like Snapfish and have them made into a book for us to keep. A tangible copy is a more cherished keepsake in my opinion. I will also print these on the computer and slide them into plastic sheet protectors and bind them for Kz to have. Incorporating family photos can help create a great tool for your child to use on their first days of school when they may be feeling a little homesick.  

How do you record your child's special moments? 


Tuesday, March 5, 2013

Light Exploration for Baby


 When I was teaching, one of my most favorite activities to do with my students was light exploration. They were a bit older than Kz (about 3 years old), so I often used tools like the light table and standing projector. I would dim the lights and allow the children to play with different materials in conjunction with projected images or in a darkened fort with flashlights and reflective objects like old CD's. I can't wait 'till Kz is old enough to enjoy these types of activities but in the meantime, I wanted him to be able to explore light in a simple and familiar way. 


I covered my dining room table with a large sheet to make the quickest and most comfortable fort for Kz and I to play in. A black sheet would have been ideal but the darkest I could find was a deep red. It was early afternoon when we decided to try this out so I spent some time turning off lights and closing blinds to get the room dark enough. Once the fort was all set, I grabbed Kz's nightlight from his bedroom. It is a turtle that projects colored stars all around the room. When my husband heard how much money I spent on this nightlight, he gave me a very stern look. Now I can argue that it has more than one use! Totally worth it :) Anyway, this was perfect because it provided a gentle glow of light in the fort without illuminating it fully.


I also brought in these glow bracelets that I purchased at the dollar store with this activity in mind. I bent them into circles and clasped them in place. IMPORTANT: The glow bracelets are not meant for small children. The clasps are small and could be a choke hazard if they come loose. They are non-toxic but let's be honest; these things glow in the dark. I would be horrified if any of the chemicals leaked out. I let Kz mouth them a little but as soon as he started to bite, I removed them. Please be extremely vigilant if you choose to use these. 


Kz loved hanging out in this new space. It was cozy and dark but large enough for him to sit comfortably while exploring the lights. 

He was excited to see his nightlight up close since it is usually out of reach from his crib. He picked it up, turned it over, and played with the buttons that change the color of the light. The glow bracelets were thin and a bit tricky to pick up, providing some good fine motor practice for Kz. Once in his hand, he banged them on the turtle's back and watched how the light blurred as he quickly waved them back and forth. 


Even I had a great time in the fort! I would like to search for some more materials to bring in. Maybe some small flashlights for little hands and reflective materials safe enough to chew on. Have you done anything like this? I'd love to hear your ideas in the comments below! 


Monday, March 4, 2013

Baby Sushi Costume


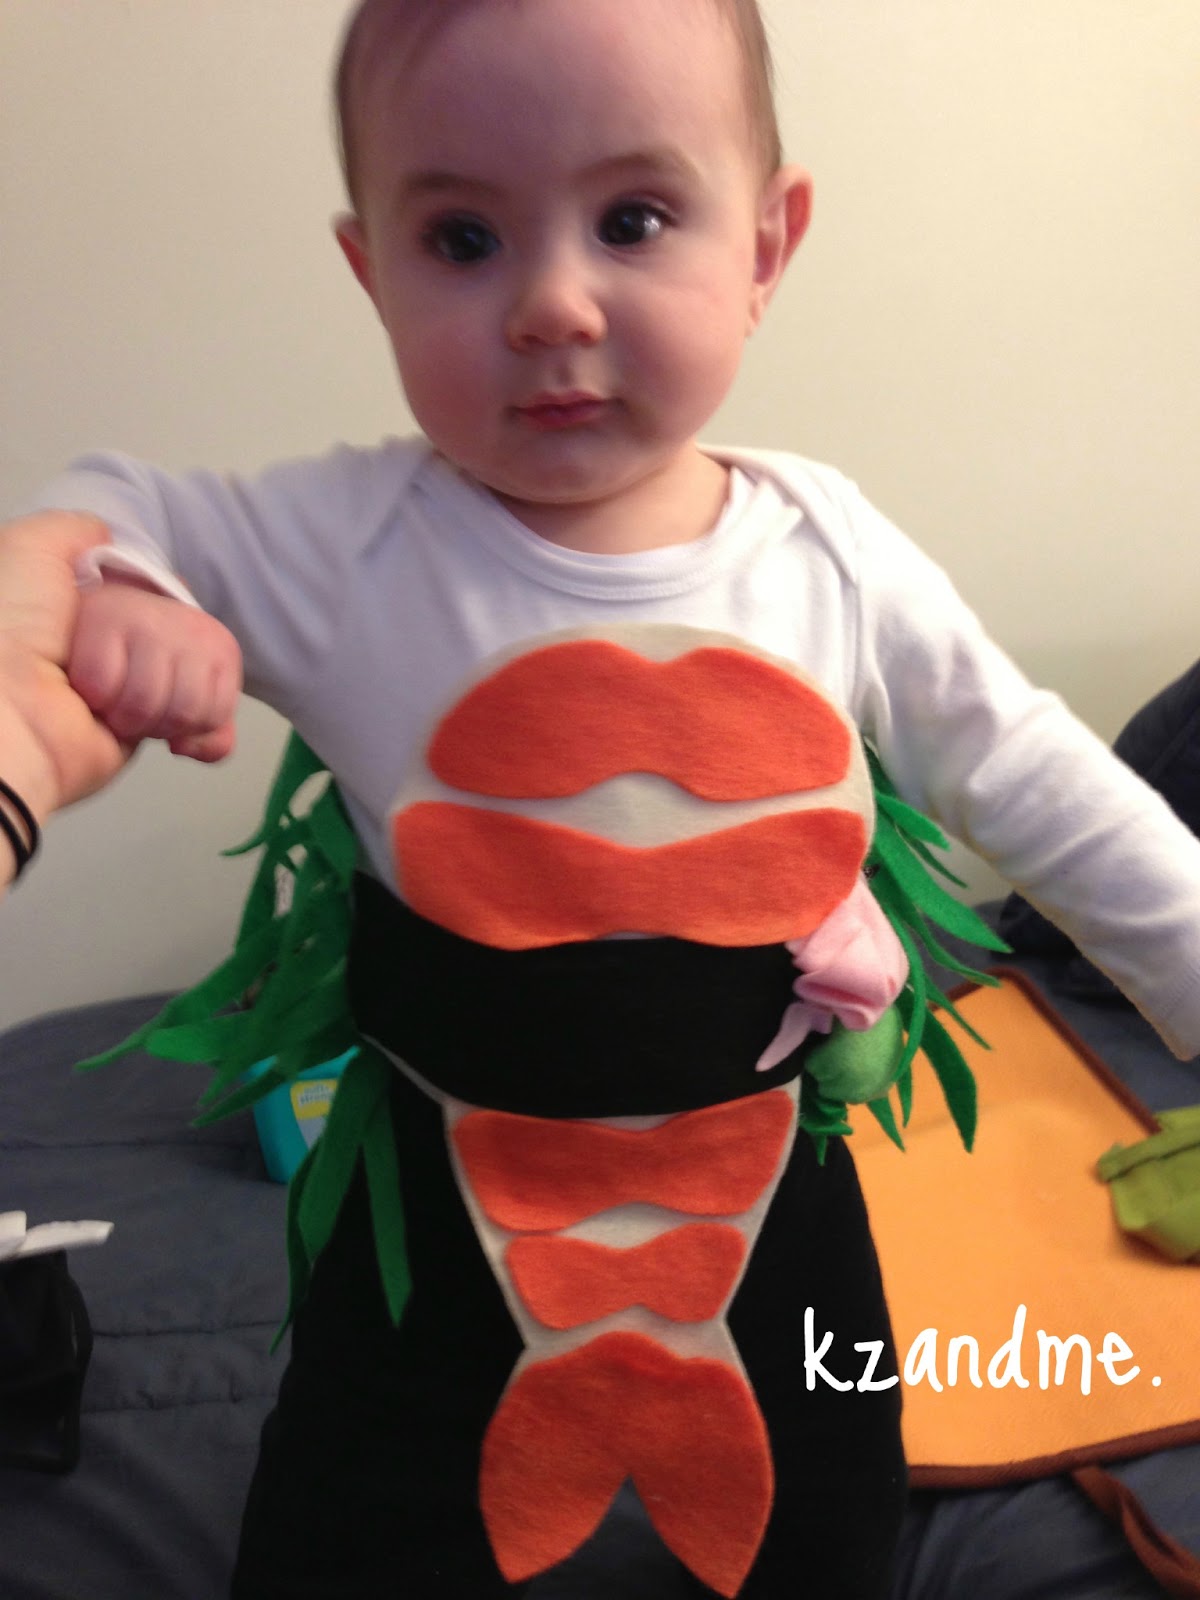
We were excited to celebrate Kz's first Purim this year! Since it is customary to dress up, we googled "baby costumes" and had a good laugh at the results (try it!). The truth is, we only started searching a few days before the holiday so we didn't leave ourselves much time to order anything too crazy. Instead, I found this adorable sushi costume at The Wishing Elephant shop on Etsy. The owner of the shop was invited to the Martha Stewart for her costumes and I found a step by step tutorial here. I went off the grid a little and made some changes to the design so that it would fit Kz a little better. Here's how I did it...

You'll need
 - felt sheets (green, orange, black, ivory, pink and lime)
 - a sharp pair of scissors
 - a pencil or sharpie
 - a few pieces of cardstock or firm paper
 - a hot glue gun or sewing machine if you are awesome


First, I set out to make a template for the salmon sushi part of the costume. I did it freehand while looking at the sample on the etsy site so mine came out a tad larger than the original. You can download a printable version from the Martha Stewart link above.


I traced the template onto the orange felt and carefully cut out each shape. Hint: When you trace the template, do not center it on the felt sheet. Instead, position it to the left or right of the sheet, allowing room for the tail.


I hot glued the sushi pieces onto the ivory sheet and cut around the "fish" to create an applique. It is ok for the tail to hang over the edge.

I took a white, long sleeve onesie (it's winter!) and glued the fish applique to the front. Because I strayed from the original template, my sushi was a bit over-sized. I was careful to only glue the top half to the front of the onesie to allow for pants to slide under the tail. This also made for a more flexible suit for Kz to crawl around in.

I added embellishments - grass separators cut from green felt, a black strip of seaweed, a pink piece of ginger and a ball of lime green wasabi.

I loved the front of the outfit but realized that most people would be seeing the back while Kz was crawling around, so I duplicated the design on the back leaving out the wasabi and ginger...


Adding the design to the back turned out to be hilarious. It was like a little piece of sushi had jumped off the table and escaped.

What kinds of costumes have you made for you kids? I'd love to hear about them! 


This site was made with ♥ by Angie Makes

Google+